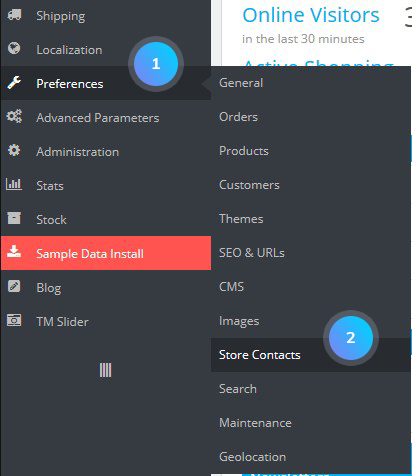
- In your PrestaShop admin panel go to Preferences -> Store Contacts section:
- You can see the list of the stores. To add a new store location, click Add new store button:

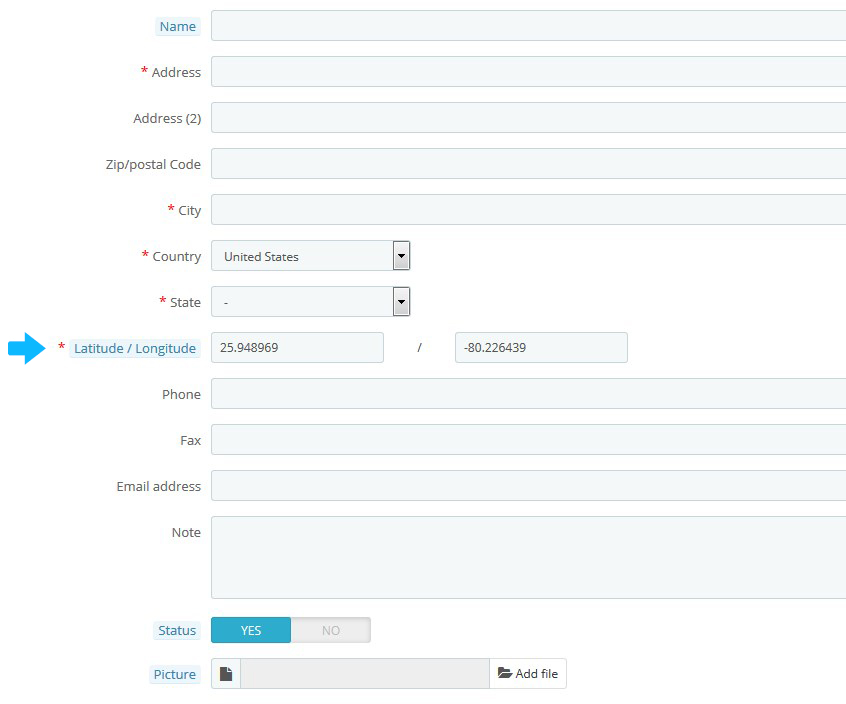
- You can set there the following options:
- Save the changes, refresh your website to see them.
- To configure a store location, click the Edit button. To remove the store, click the Delete button:

Disabling Our Stores
[notice type=”warning”]NOTE: you can not disable this feature, but you can make it inaccessible for customers.- You need to delete all the stores listed in the Preferences -> Store Contacts section. So, the Store block will not appear on the front page anymore.
- Go to Modules and Services -> Modules and Services. In the search field type “Store Locator” in order to find the module. Disable it:

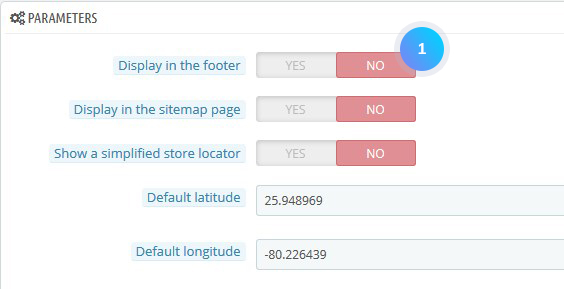
- In Preferences -> Store Contacts find Parameters section. For the Display in the footer option choose No to disable the link in the footer:
Parameters
- Display in the footer – show or hide the Our Stores link in your store footer.
- Display in the sitemap page – add the Our Stores link to your shop’s sitemap page which lists all the pages in your store.
- Show a simplified store locator – the store locator presents itself as an interactive map with a search field.
- Default latitude – latitude position of your map.
- Default longitude – longitude position of your map.
Managing Our Stores block in the side column
- Go to Modules and Sevices -> Modules and Sevices. Find Store locator block module and click the Configure button:

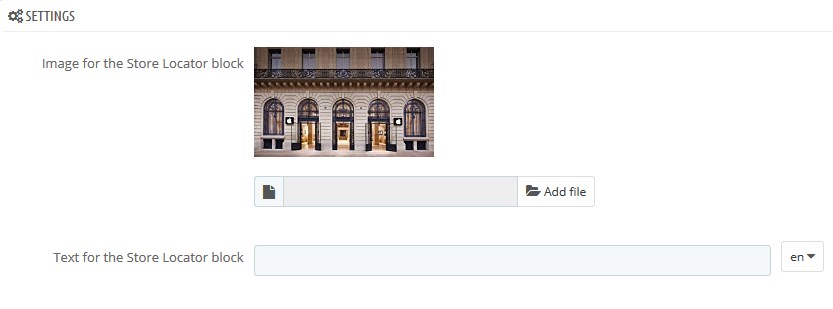
- You can set the image and add some custom text to your Our Stores block:
Store information block in the footer
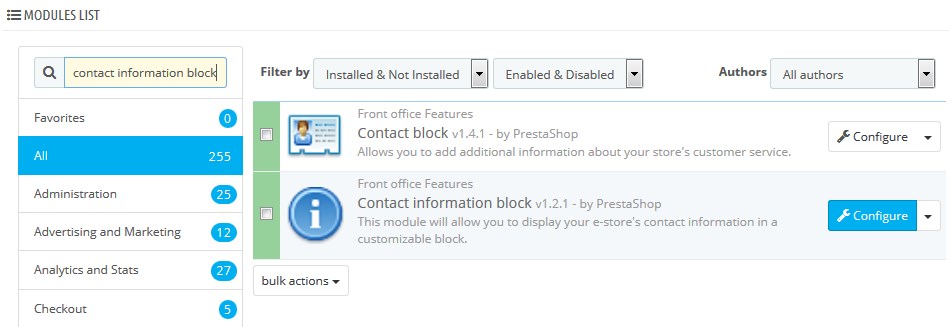
- Go to Modules and Services -> Modules and Services. Find Contact information block module and click the Configure button:
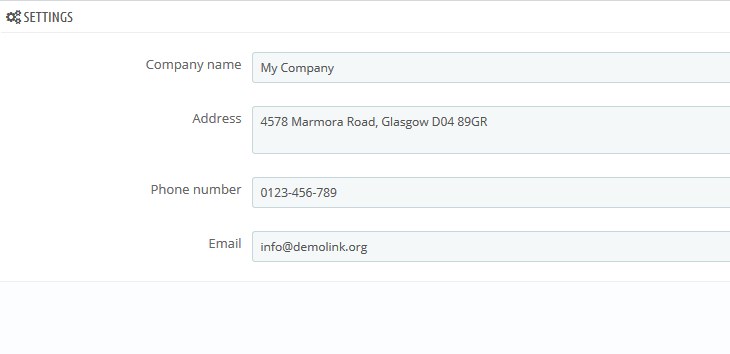
- You can configure Company name, Address, Phone number and Email:
- Save the changes and refresh your website.
